

How To Ship A Drum Set
REVERB HOW TO'S
How to Ship A Drum Kit
Shipping an entire drum fix is a thought that seems like a puzzle at best and a nightmare at worst, leading some people to sell their drums locally and give up thousands of potential buyers.
Nosotros've provided a guide to aid you take the mystery and risk out of shipping your drums so yous can sell them with confidence to the right buyer, regardless of where they might live. This video and description is for a simple 3-slice kit with a kick, rack tom and floor tom, but the same steps apply to larger kits also.
The key space-saving play tricks here is nesting. This ways packing toms within your kick drum. Depending on the size of your kit and boxes, you tin can potentially nest one rack tom into your floor tom into your bass drum, to include a full three-slice kit in one box. Nevertheless, yous may need to split your ready into multiple boxes if some of the drums are too large to nest into the others.
Note: Nesting works really well—if and only if information technology'south done properly. If you don't protect each drum correctly, you will damage them. That means making sure that admittedly no wood or metal is resting confronting other forest or metal, removing and packing all hardware separately, and using plenty of packing material.
You'll line the inside and outside of the kicking with cardboard and fill it with foam sheets or bubble wrap to forbid the tom from shifting inside the kick drum. The kick drum is kept from shifting inside the box with foam slabs, which too protect the heads. Hardware needs to be wrapped up generously in bubble wrap and taped around and on both ends.
The aforementioned basic treatment can be used for individual drums (either another tom or a snare), without another drum inside. Read our play-by-play breakdown below.
Step 1: Set the Large Box
You'll need to reinforce the box to support the weight of the pulsate kit.
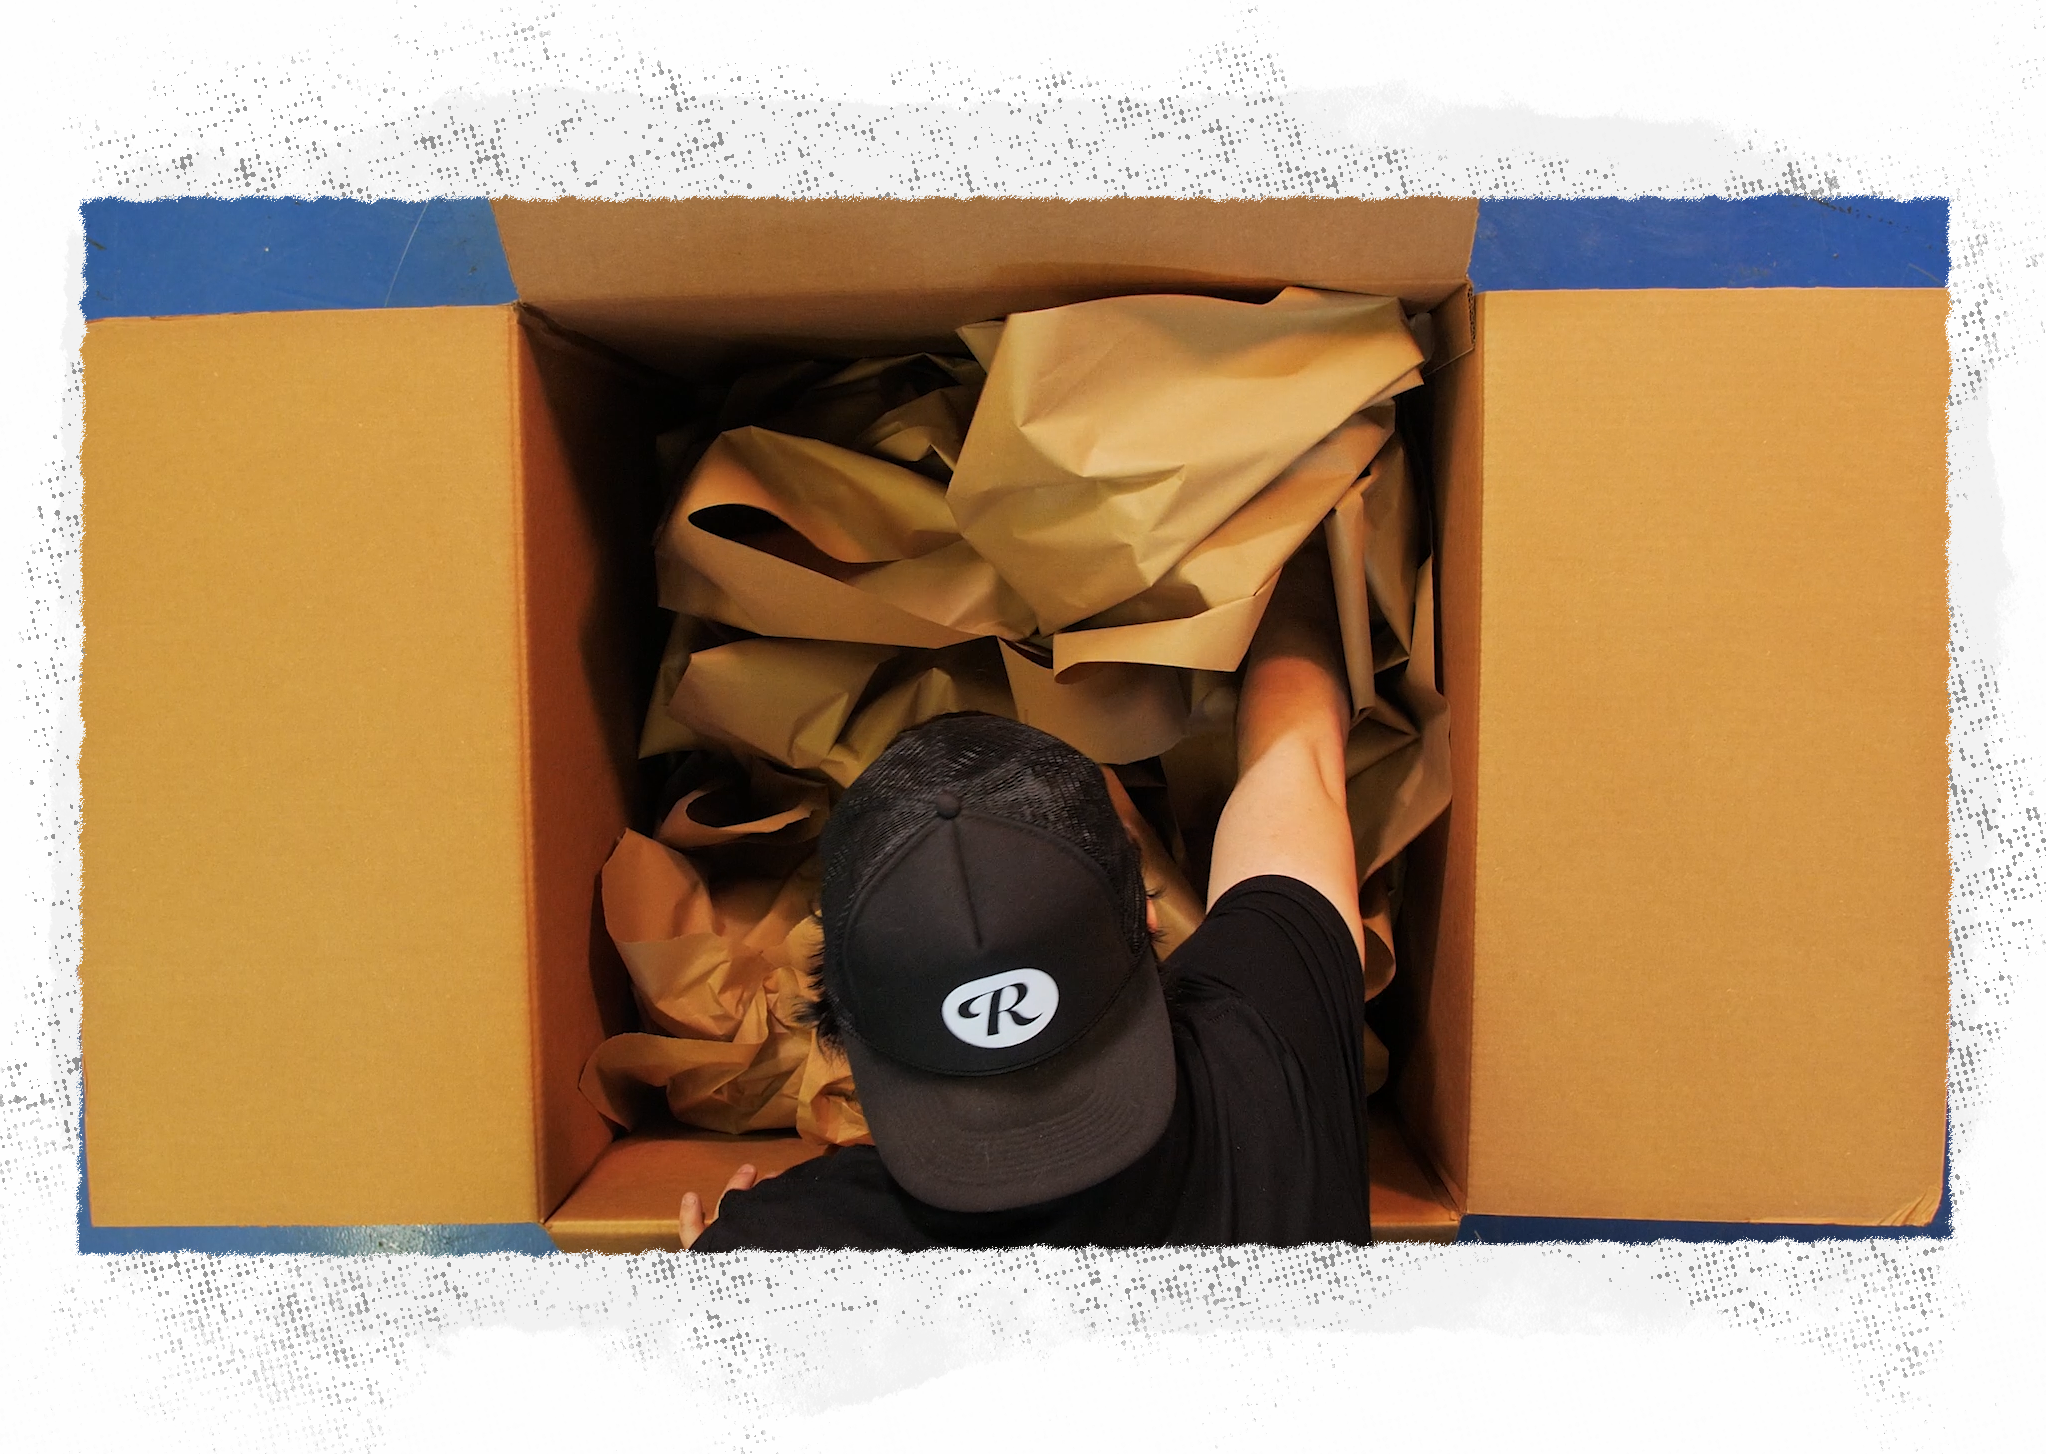
You're going to be putting quite a scrap of weight into this cardboard box, then you want to reinforce it everywhere you can. Line the bottom with additional pieces of cardboard, which will assistance keep information technology sturdy and prevent piercing if the box is prepare down on an uneven surface. Line each side with an additional piece of cardboard too.
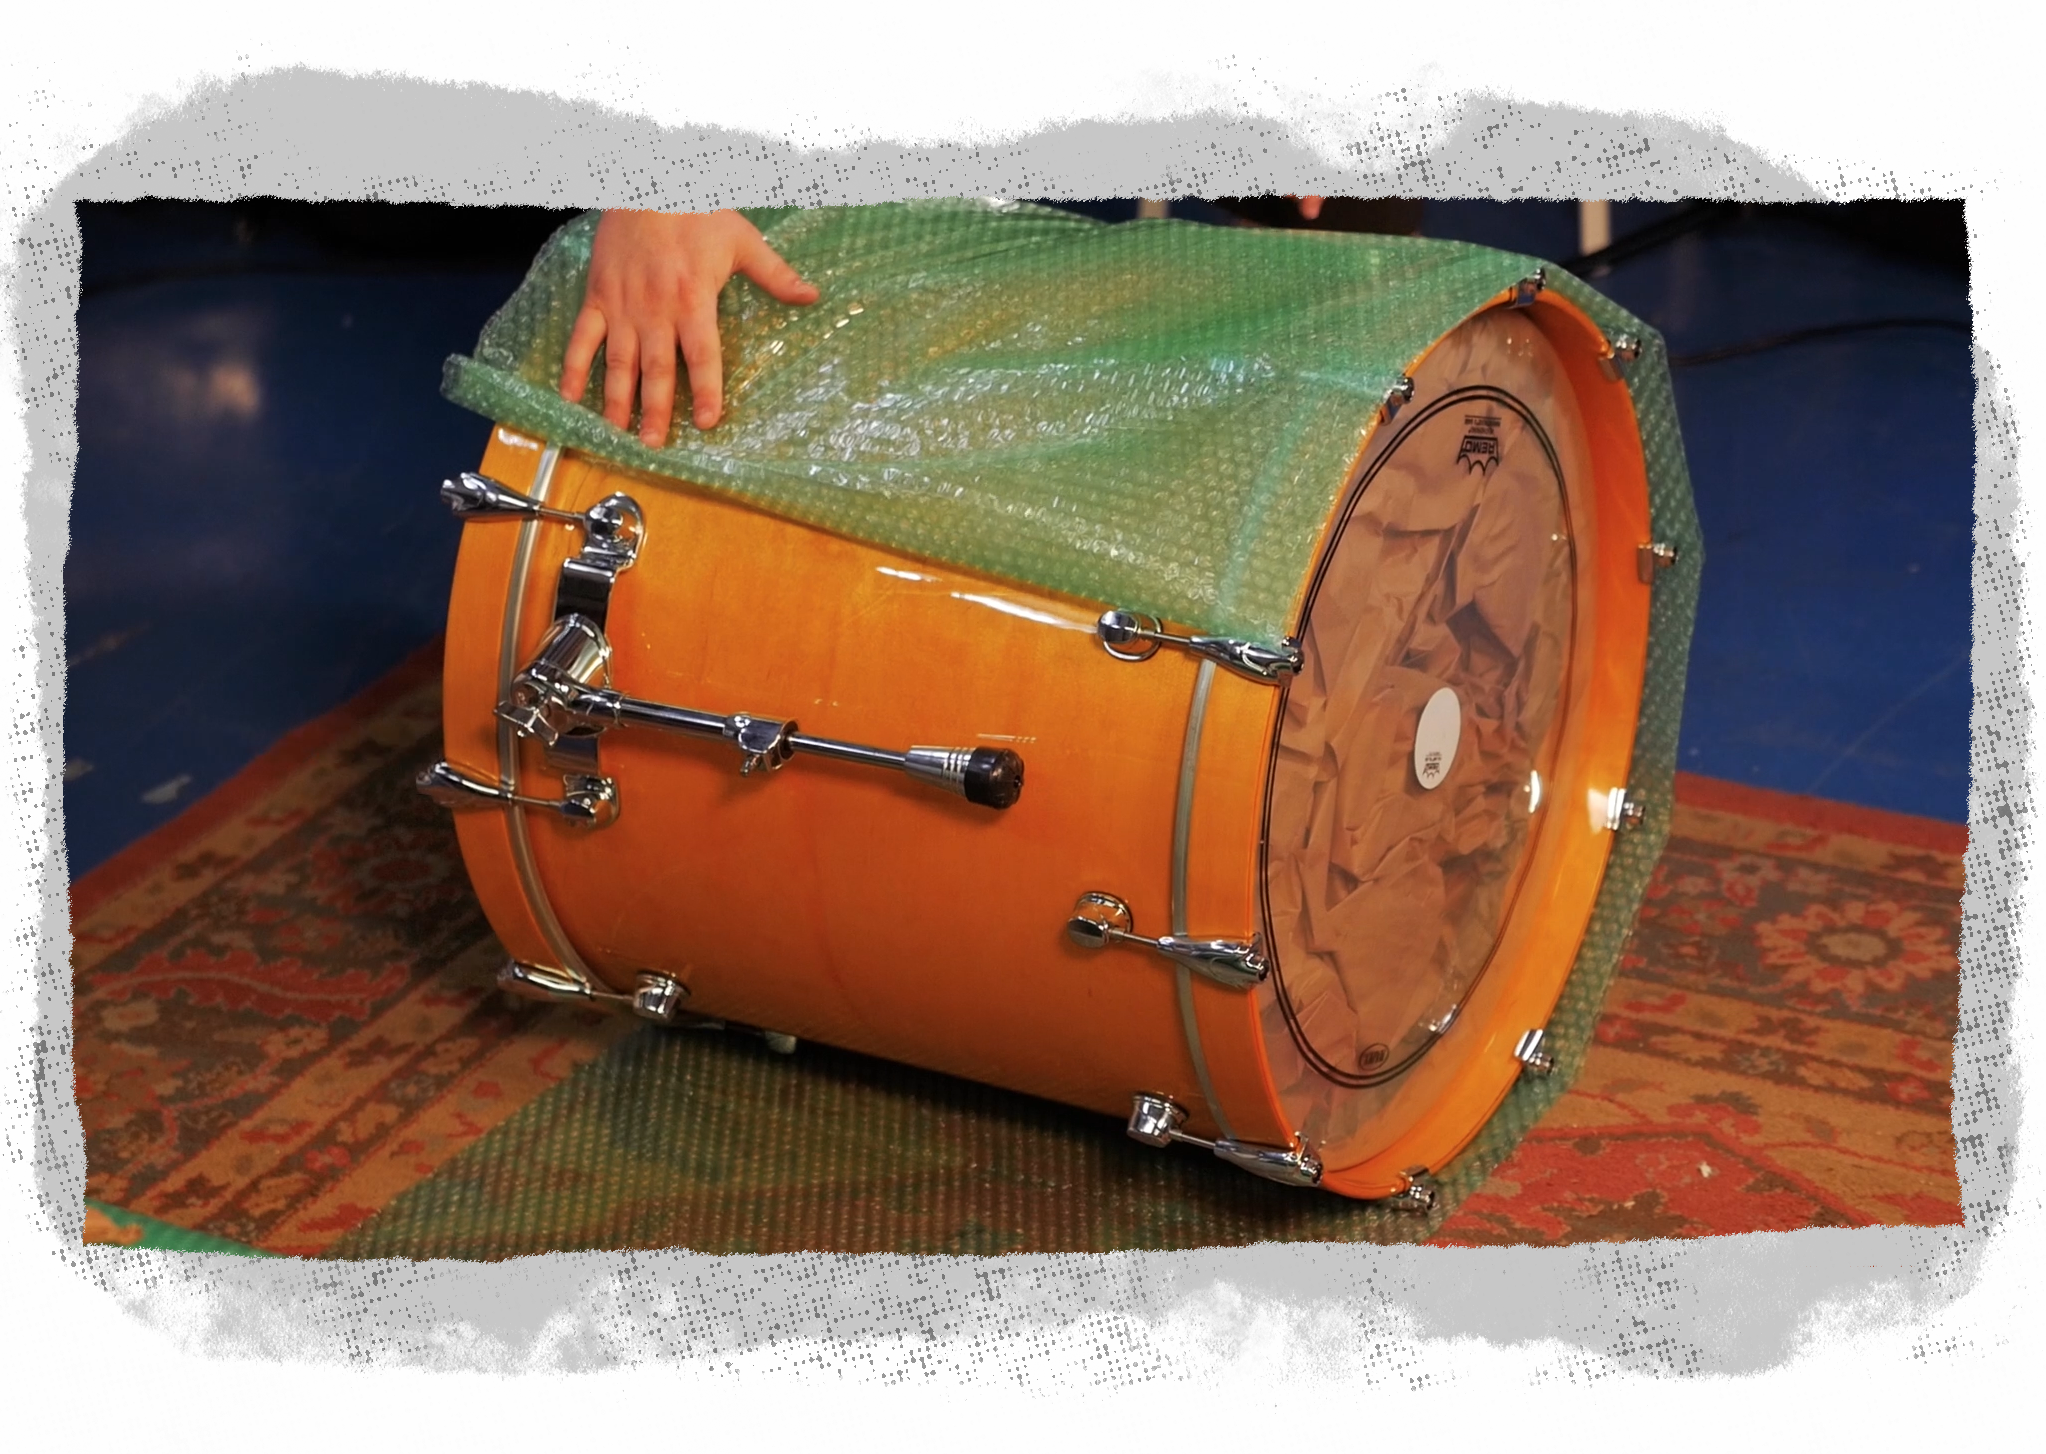
Footstep 2: Prepare the Kick Pulsate
Have these steps to ensure all parts ship safely.
Remove i bass pulsate caput and put it somewhere it won't get damaged. Wrap the bass drum hoop in bubble wrap or foam sheets and fit it dorsum onto the bass pulsate shell.
Wrap the exterior of the kicking in packing newspaper first, then with bubble wrap or foam sheets. Take the cardboard scraps that you've cut to match the kicking pulsate'southward depth and create a cardboard layer over the other wrapping. Tape it all deeply.
Line the inside of the kick pulsate with more cardboard scraps (once more matching the boot pulsate'due south depth).
Place the kick drum into your reinforced box. Make full all the available space in the box with cream slabs first on each side and packing newspaper in between so the kick pulsate cannot motility within the box.
This makes for both a compact and secure package.
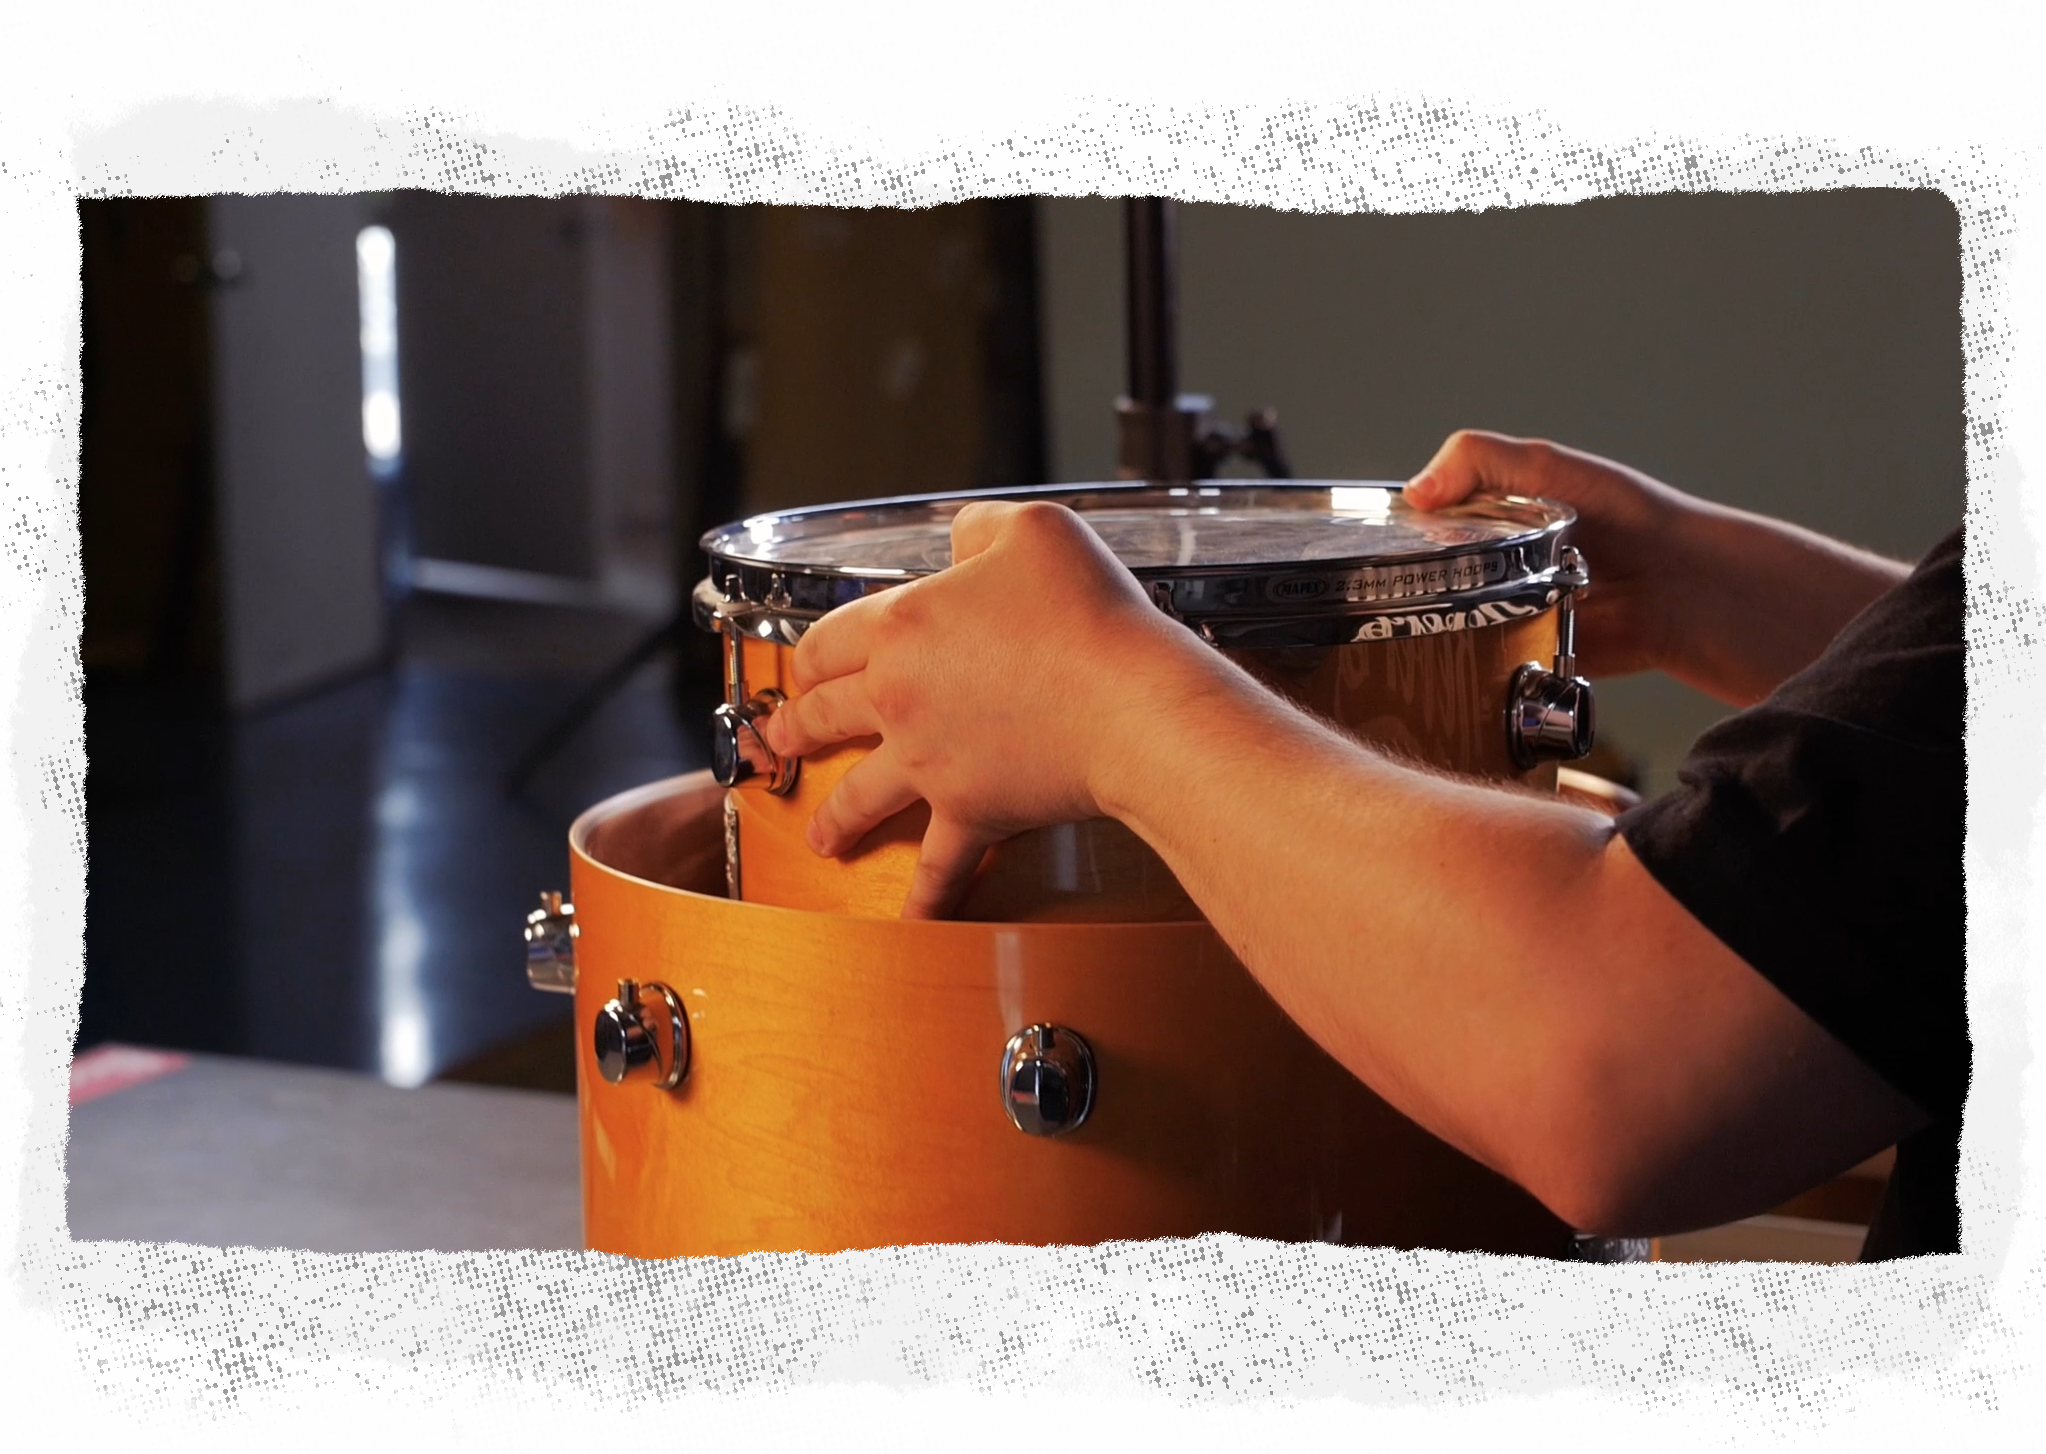
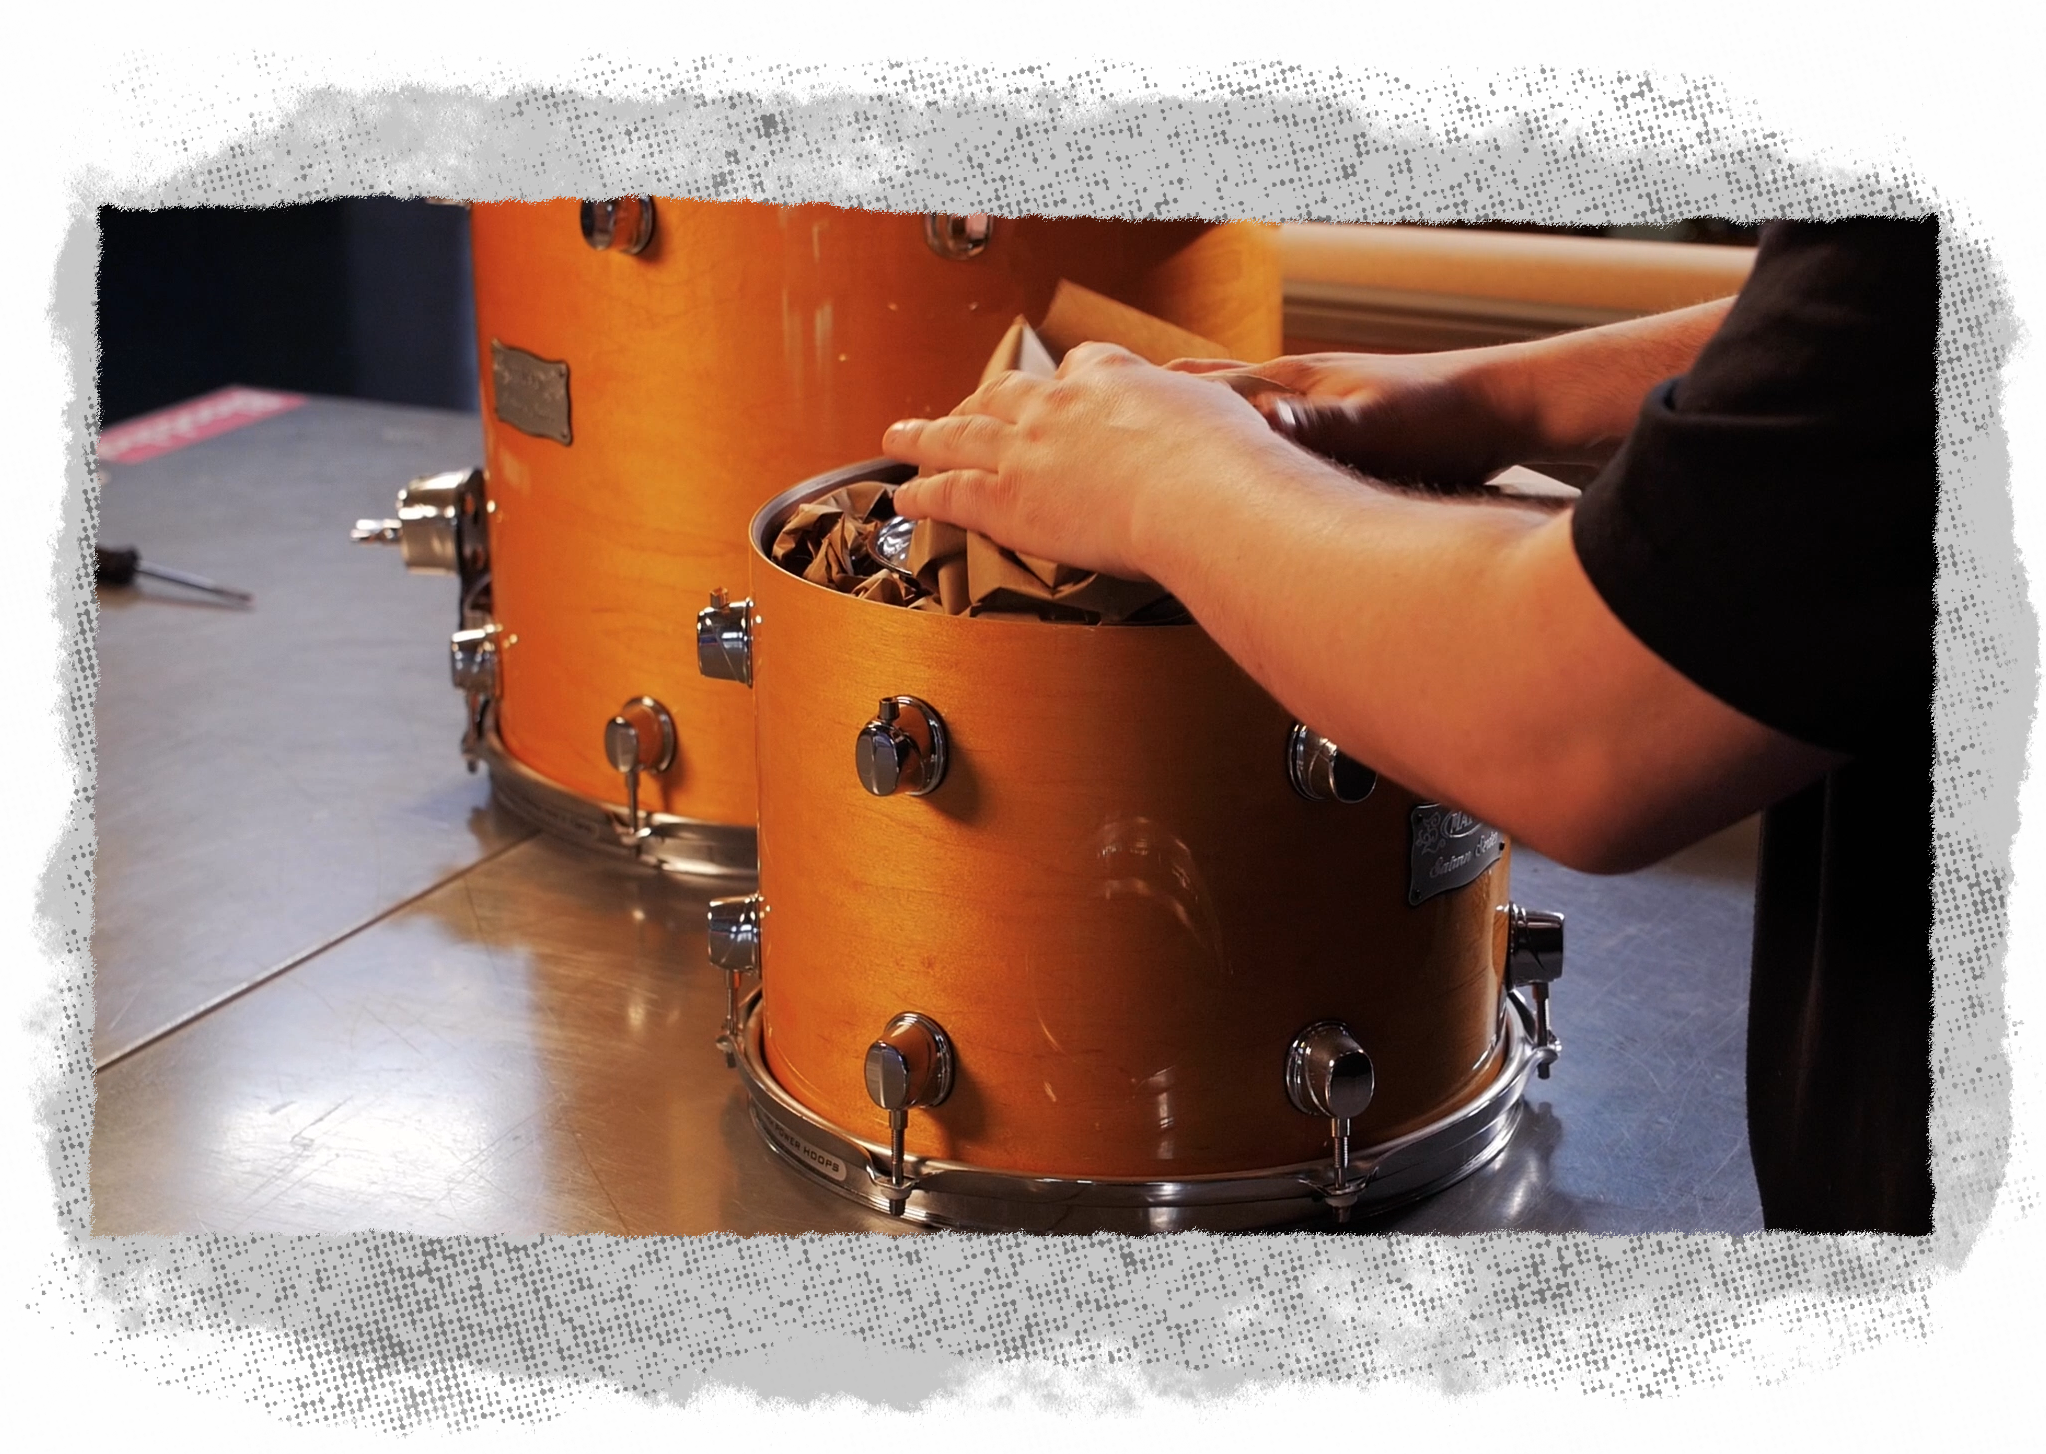
Take the beginning tom you want to nest and wrap in packing newspaper first, then with bubble wrap or foam sheets. (If you're going to nest multiple toms, then this should be the larger one.) Tape the wrapping around the drum and on both ends. Line the bottom of the inside of the boot drum with paper-thin and chimera wrap/foam sheets to protect the other head.
Place the wrapped tom within the kick drum. Make full the gaps with plenty of heavy paper until the rack tom is firmly secured. Brand certain that there is no directly contact at all betwixt the tom and the inside of the kicking pulsate. Identify cardboard scraps on superlative of the tom.
If you lot are going to nest some other smaller tom, echo the aforementioned procedure for that next tom.
Step 4: Hardware and Caput(s)
Don't forget the hardware.
Wrap the floor tom legs, rack tom arm and/or bracket, and any other hardware in bubble wrap and tape all around, including the ends. If this bundle of hardware cannot fit in 1 of the spaces on the side of the kick drum, utilize a split up box. Practice not pack hardware on peak of the kicking drum.
Take your spare kick drum caput. Put it in a spare head box or create a similar "box" with spare $.25 of cardboard. Place additional bubble wrap on summit of the head, and and so identify the protected head on top of everything else.
Make sure everything fits snugly before you record information technology up.

Use more paper-thin scraps to create some other layer on superlative of everything you've packed, reinforcing what will be the elevation of your box with one last layer of cardboard.
If you lot realize that your box is significantly taller than your tallest drum at this indicate, make a marking about 2" above the top of the drum on the inside of the box. You can cut the corners to this mark and fold over the sides to modify the meridian of the box. You desire it every bit snug equally possible.
Shut the box. When taping, record all sides and exist generous with it. Think, you want the packages to stay shut no affair what. Requite it the old milk shake test and listen to make sure nix is moving around.
Step 6: Repeat as Necessary
If you lot need to brand more than one box of drums (depending on the size or amount of shells), repeat the same steps above.
Oops, looks like yous forgot something. Please cheque the fields highlighted in crimson.

How To Ship A Drum Set,
Source: https://reverb.com/selling/how-to-ship-a-drum-kit
Posted by: spencercoccousturia.blogspot.com
0 Response to "How To Ship A Drum Set"
Post a Comment